
Cracked Window Caulk – Seal Gaps Before Rain Enters
Mystery Business News PR >> Home Zone>> Cracked Window Caulk – Seal Gaps Before Rain Enters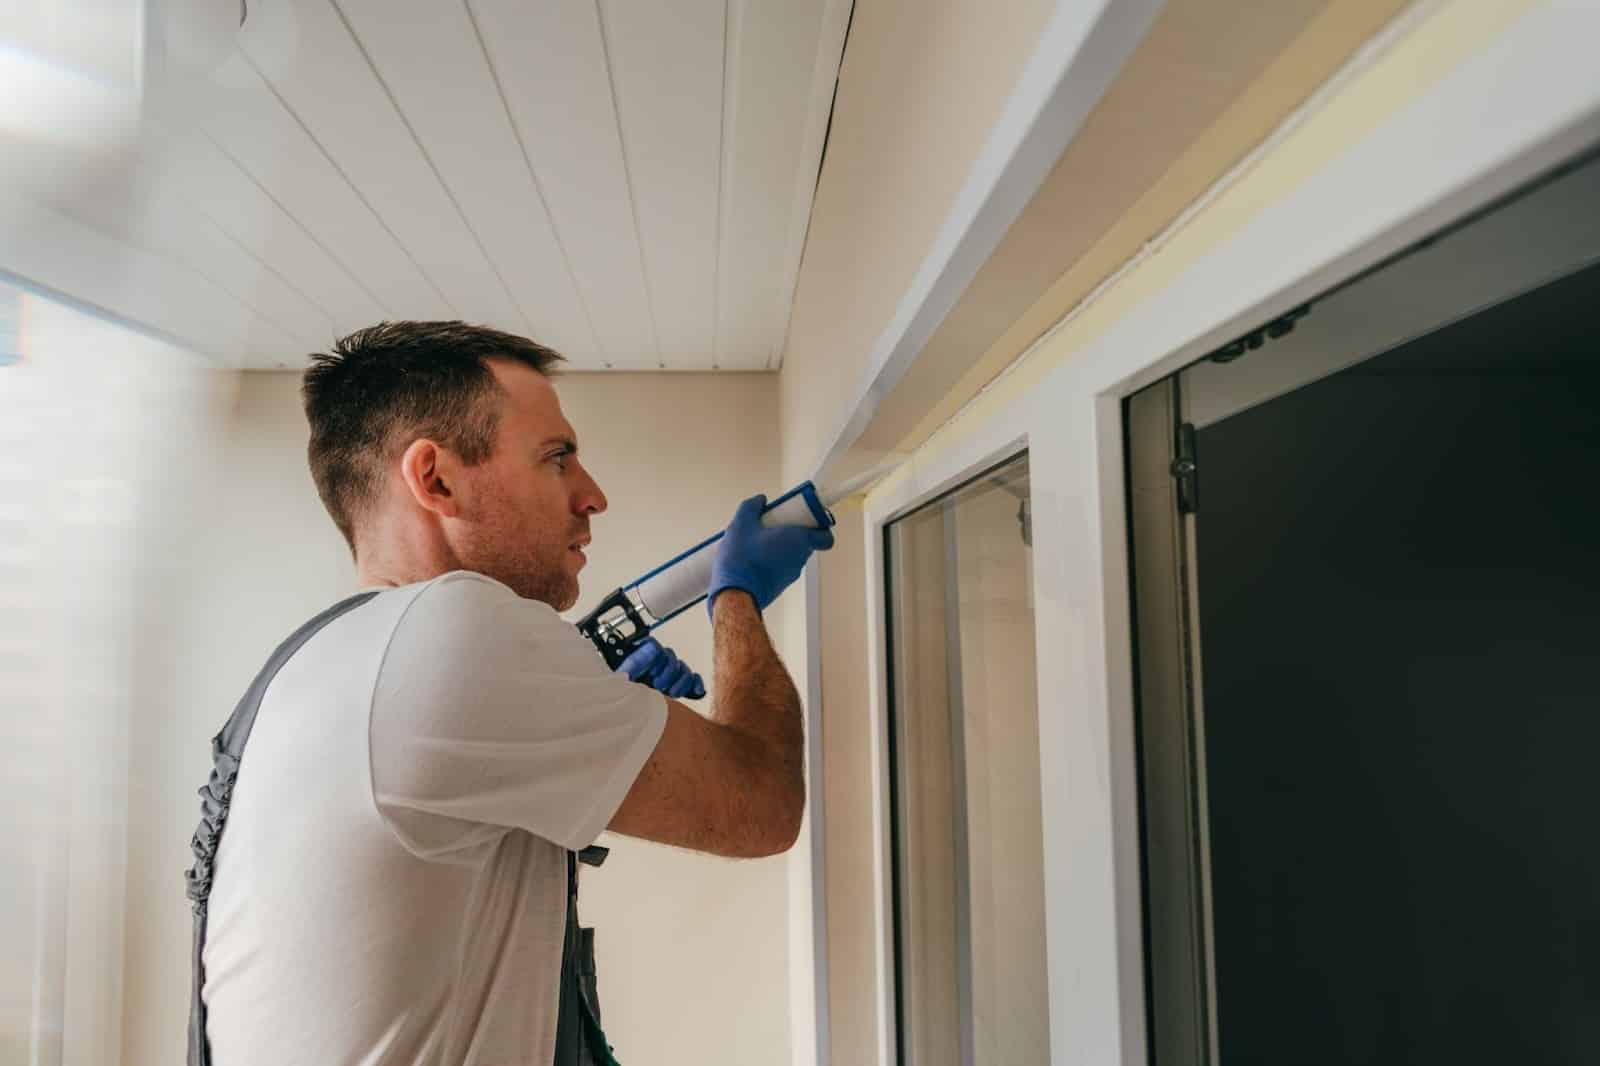
Cracked Window Caulk – Seal Gaps Before Rain Enters
Cracked window caulk can turn a minor maintenance problem into damp trim, peeling paint, and hidden moisture damage. Small separations around a window may not look serious during dry weather, but wind-driven rain can push water through surprisingly narrow openings.
Repair works best when you remove failed material, prepare the surface properly, and apply exterior-grade sealant before the next heavy rain.
Check Where the Caulk Has Failed
Inspect the entire outside perimeter rather than repairing only the most obvious crack. Look for caulk pulling away from siding, splitting down the center, becoming hard and brittle, or leaving visible gaps beside the window frame.
Pay extra attention to upper corners and horizontal joints where water can collect. Homeowners comparing maintenance approaches through broader home-maintenance reading should still follow the window manufacturer’s installation details when those instructions are available.
Separate Caulk Problems From Drainage Problems
Caulk should seal appropriate joints, but it shouldn’t block intentional drainage openings. Some windows have weep holes or drainage paths designed to let water escape.
Covering those openings can trap moisture instead of stopping it. If you’re unsure whether a gap is intentional, identify the window design before sealing it.
Remove Loose Material Before Applying New Sealant
New caulk performs poorly when placed over loose, dusty, or crumbling material. Cut away failed sections carefully with a suitable scraper or utility tool while avoiding damage to painted surfaces, siding, flashing, and the window frame.
Clean away dirt and remaining debris, then allow damp surfaces to dry. Advice encountered through homeowner news sources can offer useful maintenance ideas, but the sealant label remains the better guide for surface preparation and curing requirements.
| Problem | What You May Notice | Better Response |
|---|---|---|
| Split caulk | Crack through bead | Remove failed section |
| Loose edge | Caulk pulling away | Clean and reseal joint |
| Damp trim | Staining or softness | Find water source first |
| Blocked drainage | Water collecting | Check weep openings |
Choose Caulk Made for the Location
Exterior window joints need a sealant intended for outdoor exposure and compatible with the materials being joined. A product suitable for wood-to-brick joints may have different requirements from one used around vinyl siding or painted trim.
Check whether the product is paintable if appearance matters. Also consider the expected movement of the joint because windows, siding, masonry, and trim can expand and contract differently as temperatures change.
Material comparisons found through consumer information outlets can help you identify questions to ask, but compatibility information on the actual sealant packaging should guide the final choice.
Apply a Continuous, Controlled Bead
Cut the nozzle opening slightly smaller than the joint when possible, then apply consistent pressure while moving along the gap. The goal is complete contact with both sides of the joint without producing an oversized mound of sealant.
Tool the bead according to the manufacturer’s directions. A neat surface isn’t only cosmetic; good contact along the edges helps prevent small channels where rain can work behind the repair.
For upper-story windows, avoid leaning from windows or improvising unstable ladder positions. Repairs that cannot be reached safely are better left to someone with suitable access equipment.
Where Window Caulk Repairs Often Go Wrong
One common mistake is treating caulk as a cure for every window leak. Water may be entering higher up through damaged flashing, siding joints, roofing details, or deteriorated trim and then appearing beside the window.
Another problem is sealing over wet or dirty surfaces because rain is approaching. A rushed bead may look closed initially but fail to bond properly. Fix the water-entry path first, prepare the joint carefully, and avoid blocking drainage features that were intentionally built into the window assembly.
Frequently Asked Questions
Can I put new window caulk over old caulk?
Small sound sections sometimes remain, but loose, cracked, contaminated, or poorly bonded caulk should normally be removed. Applying new material over a failing base can leave the new bead attached to something that is already separating.
Should exterior window caulk be applied before rain?
The surface and curing conditions must meet the sealant manufacturer’s directions. Some products tolerate moisture better than others, so don’t assume a freshly applied bead is immediately ready for heavy rain.
Why does window caulk keep cracking?
Repeated cracking can result from joint movement, incompatible sealant, poor surface preparation, an oversized or undersized joint, aging material, or movement in the surrounding trim. Recurring failure deserves closer inspection rather than another quick coat.
Seal the Joint Before Damage Spreads
A narrow caulk crack is much easier to address than rotten trim or moisture trapped inside a wall. Inspect the full window perimeter, preserve drainage openings, remove failed material, and use a compatible exterior sealant under suitable conditions.
If staining or softness continues after resealing, stop treating the visible joint as the only problem and investigate where the water is actually entering.
Related Post

Small Bedroom Spaces – Make Rooms Feel More Open
Small bedrooms work best when every piece earns its footprint. A lighter visual layout, vertical…